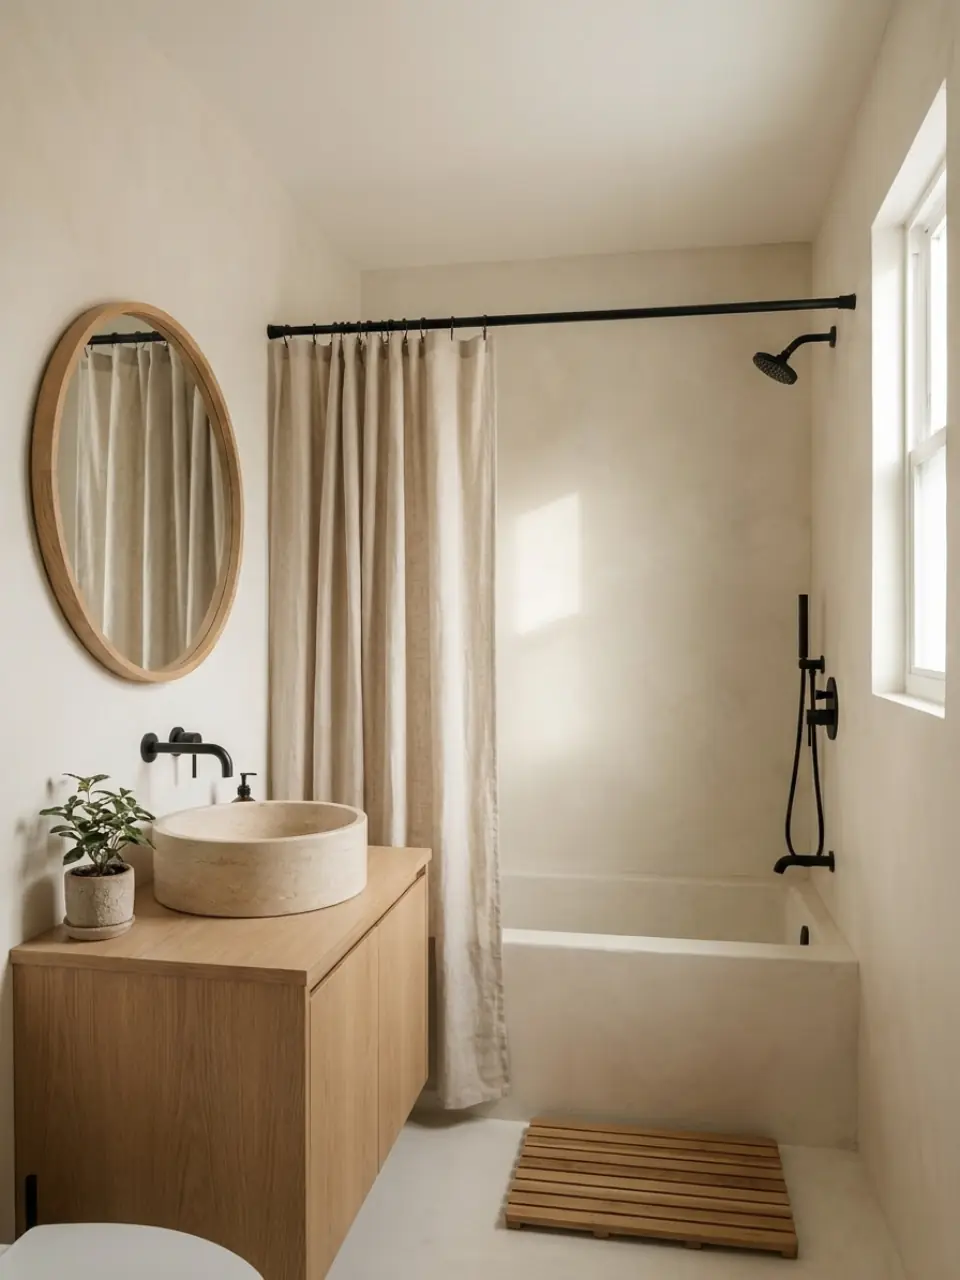
How to virtually stage listing photos, well and honestly
An empty room is hard to read in a photo. Without furniture there is nothing to show its size, and bare walls and floors can make a good room look cold. Virtual staging fixes that by adding furniture and decor to the photo, so buyers and renters can see how the space could be used. Done well, it helps people understand a home. Done carelessly, it sets up a disappointing viewing. This guide covers how to get it right.
Which rooms to stage
You do not need to stage every room. Start with the ones people care about most and the ones that are hardest to picture empty.
- The living room. It is often the first photo in a listing, and the one that sets the tone for the rest.
- The main bedroom. Buyers want to know whether a double bed fits and where the wardrobe would go.
- Awkward or open-plan spaces. A room with an odd shape or no obvious use benefits most from showing a clear layout.
- Rooms with dated furniture. If a seller's own furniture makes a room feel small or busy, a redesigned version shows the space without it.
Kitchens and bathrooms usually need staging least, because their fittings already show what the room is for. Hallways and storage rooms rarely need it at all.
Shooting the photo
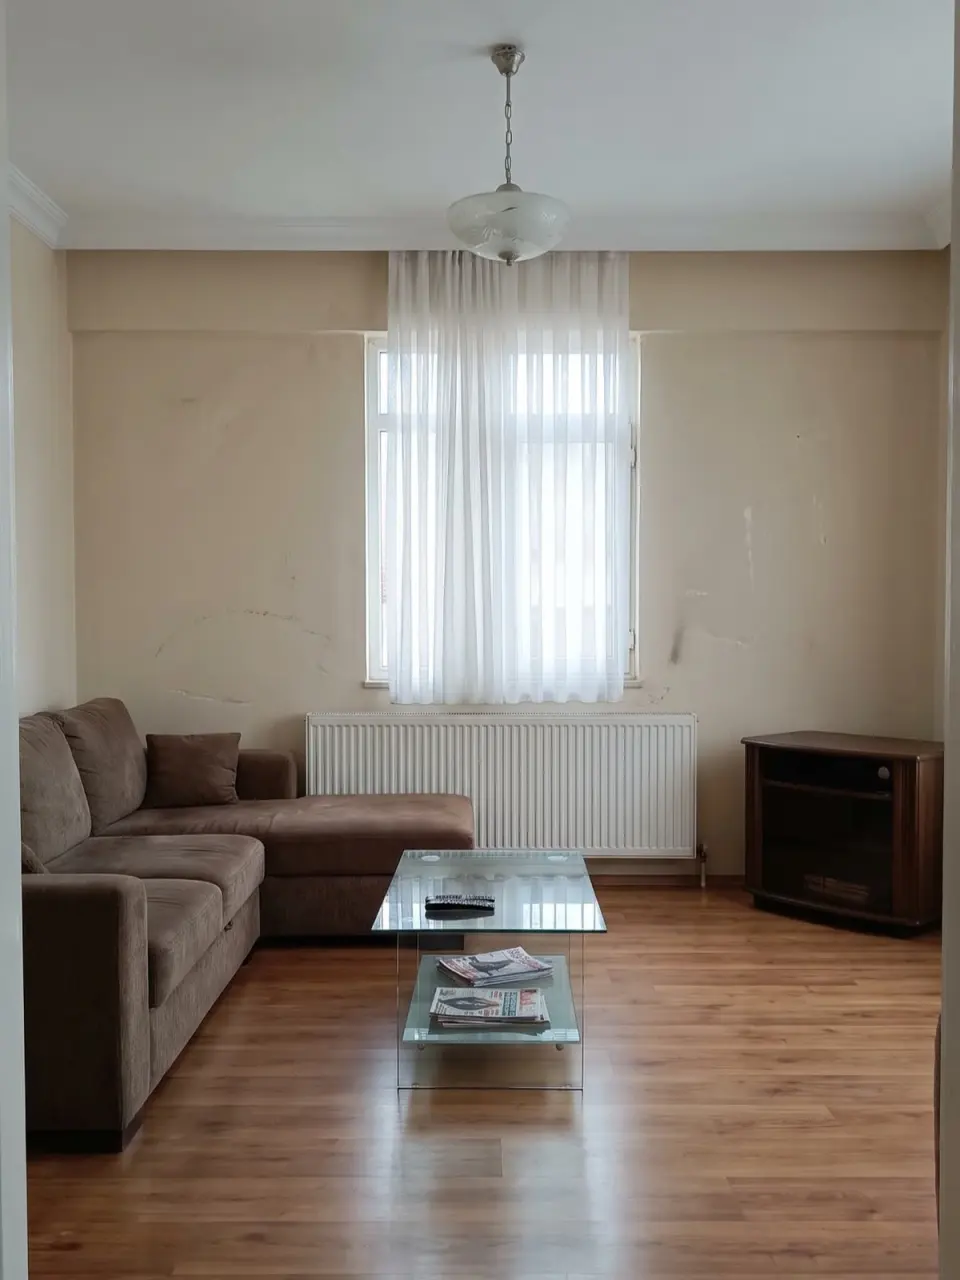
Staging can only work with what is in the photo, so the original shot matters more than anything else.
- Shoot in daylight. Open the curtains and blinds, and switch the lights on as well. Even, natural light gives the most realistic result.
- Hold the camera level. Tilting the phone up or down makes walls lean, and staged furniture then looks out of place. Keep the phone upright at about chest height.
- Stand in a corner or doorway. A corner shot shows two or three walls and gives the room depth. Point the camera at the room's focal point, such as a window, a fireplace or the wall where the bed would go.
- Go wide, but not too wide. The phone's standard wide lens is usually enough. An ultra-wide lens can stretch the edges of the room and make it look bigger than it is.
- Clear the floor. Remove boxes, cables and cleaning kit before you shoot, so nothing odd is left in the staged version.
Take a few shots of each room from slightly different positions. You can then stage the one with the cleanest view.
Choosing a style
For a listing, the aim is to show the room, not a strong personal taste. A calm, neutral style suits the widest range of people because it lets them imagine their own things in the space.
- Modern gives clean lines and a restrained palette, and suits newer flats and open-plan rooms.
- Scandinavian uses pale wood and soft white textiles, and keeps darker rooms feeling light.
- Japandi brings low, simple furniture in natural materials, and makes a room feel calm and uncluttered.
Match the style to the home. A period house can carry warmer pieces, such as mid-century furniture, while a converted warehouse flat may suit an industrial look. Keep the same style across all the staged rooms in one listing, so the photos read as one home.
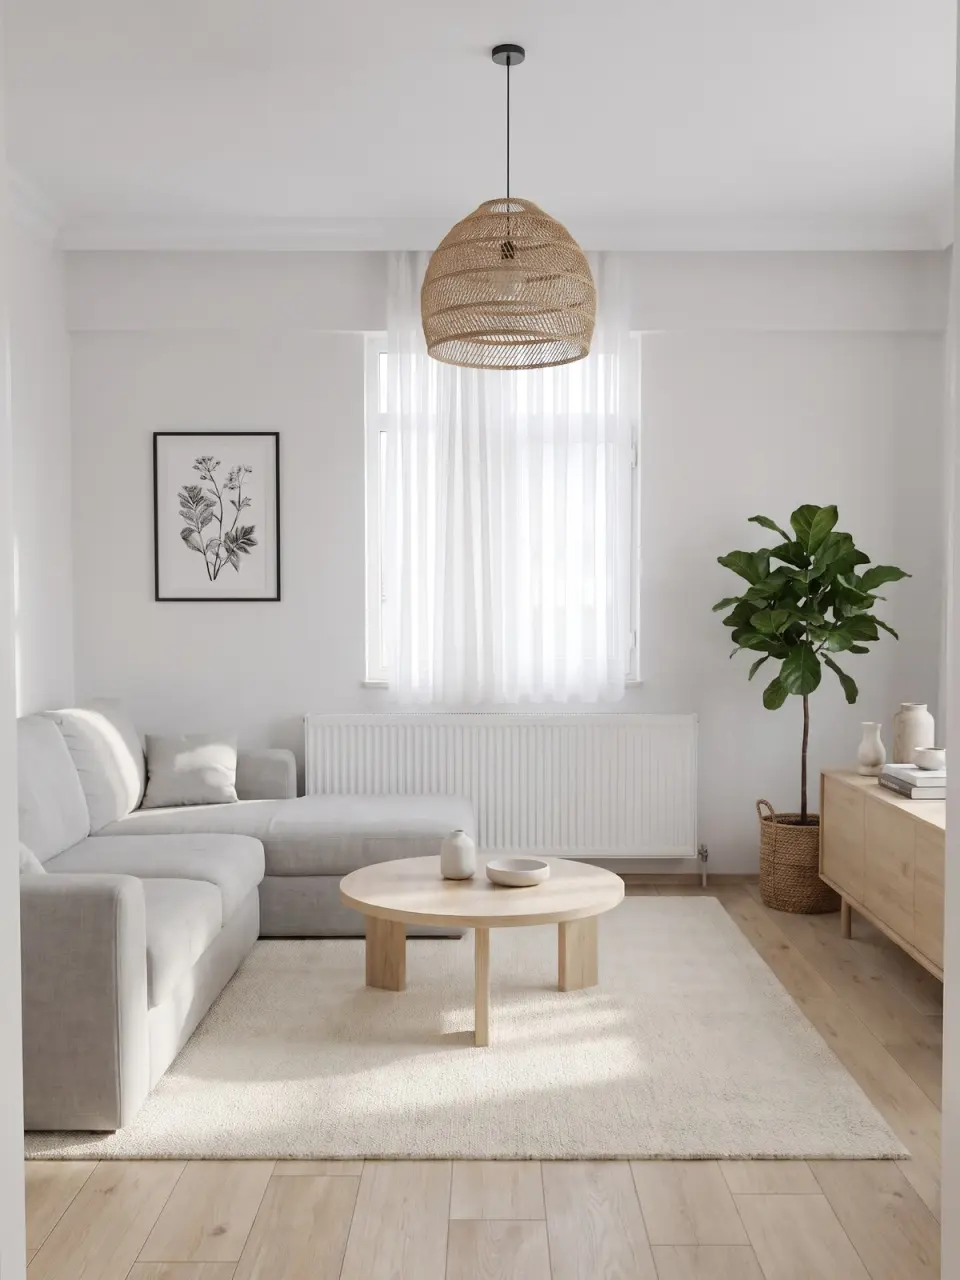
Watch the furniture size, too. A large corner sofa in a small living room or an oversized bed in a box room makes the space look cramped. If a result looks too full, try a lighter style. The living room staging page and the bedroom staging page have more room-specific tips.
Keep the room accurate
Virtual staging should add furniture, not change the property. The staged photo must still show the real room, so that a buyer who visits finds what they expected.
- Do not change the structure. Windows, doors, walls, ceilings and floors should match the original photo. Do not add a window, remove a radiator or swap a carpet for wood.
- Do not hide defects. If there is damp, a crack or a stain, a rug or plant placed over it misleads buyers. Fix it or leave it visible.
- Do not change the view. What is outside the window should stay as it is.
- Check every result. Compare the staged image with the original before you use it. If something structural has shifted, discard that version and try again.
Homiva is designed to keep walls, windows and layout in place, and the before and after comparison in the app makes this check quick. It is still your job to look closely before an image goes into a listing.
Label staged photos and show the original
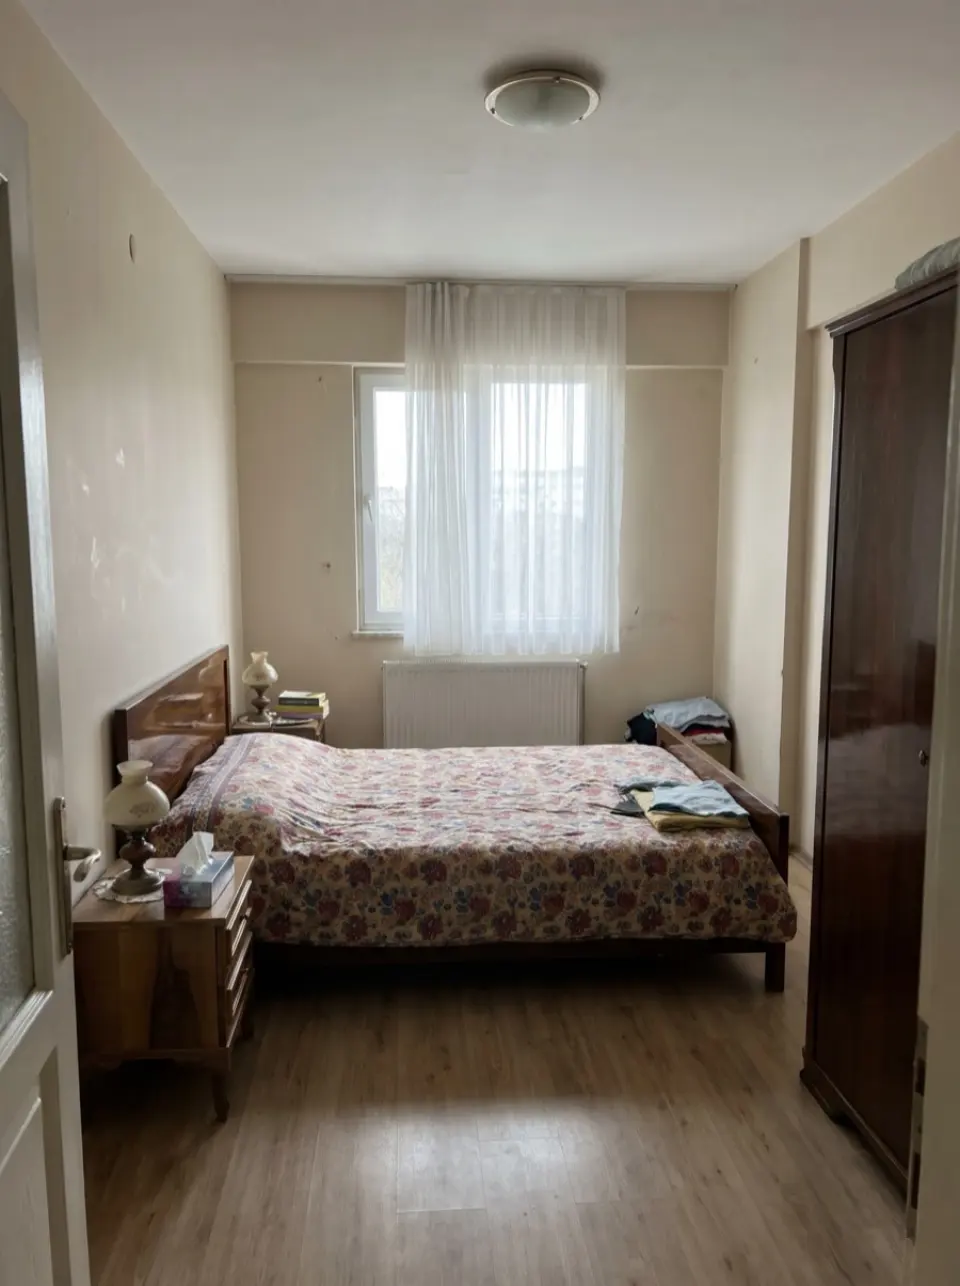
A staged photo shows what a room could look like, not how it is today. Many MLSs and property portals require virtually staged images to be labelled, and buyers expect to know.
- Add a clear caption or watermark, such as "Virtually staged".
- Put the original, unstaged photo next to the staged one, or straight after it in the gallery.
- Say in the listing description that some photos are virtually staged.
- Check the rules of each portal or MLS you list on, as they differ.
Being open about staging also protects you. A buyer who sees the empty room at a viewing will not feel misled if they have already seen both photos.
Using staging for rentals
Staging works the same way for rental homes. An unfurnished flat is hard to picture from photos, and a staged version helps tenants decide whether to book a viewing. The same rules apply: keep the room accurate, label the staged images and show the original.
For short-term rentals, staging is also useful before you buy anything. Try a few styles on a photo of the real room to see which look and which furniture sizes fit, then shop with a clearer plan.
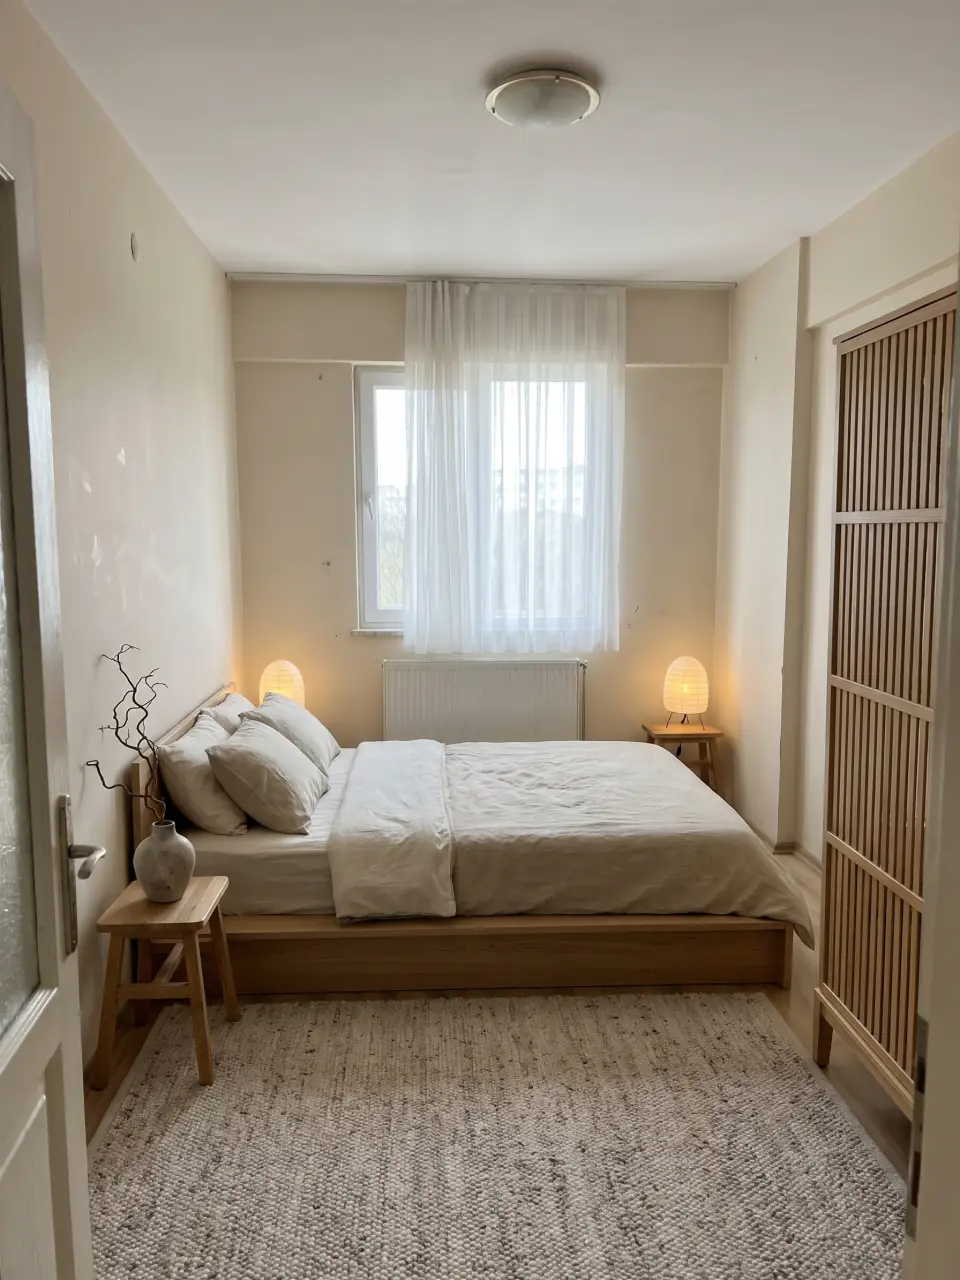
Stage a room on your phone
You can stage a room on your phone with Homiva: take or upload a photo, pick one of more than 20 styles, and save the result. See how it works on the virtual staging page.